

How to Photograph a Themed Room for Your Listing
A themed room can set your listing apart, but only if the photos show it properly. We've seen great rooms undersold by a single wide shot taken from the doorway. Themed rooms are visual, and guests decide quickly. These tips help the room do what it was built to do.
This guide builds on our general advice on staging your vacation rental for listing photos. It's about the extra care a themed room needs.
Get the room ready first
Clean every surface and wipe the printed walls.
Make the beds neatly with fresh linens.
Remove personal items, cords and anything that isn't part of the room.
Check every light and bulb. In a themed room, one dead LED stands out.
Tidy the toys or props that belong in the room and put the rest away.
Still planning the room? Read themed room versus game room.
Light matters more than the camera
Themed rooms often use colored lighting, and that can confuse a camera. Take a set of photos with the room lit the way guests will see it, and a set with the lights set to a neutral white so the walls and finishes read correctly. Daylight from a window helps a lot, so open the curtains and shoot when the room is bright. Avoid mixing flash with colored light, because the result usually looks flat.
Our guide to LED lighting for vacation rentals explains why we plan lighting with the build, which also makes the room easier to photograph.
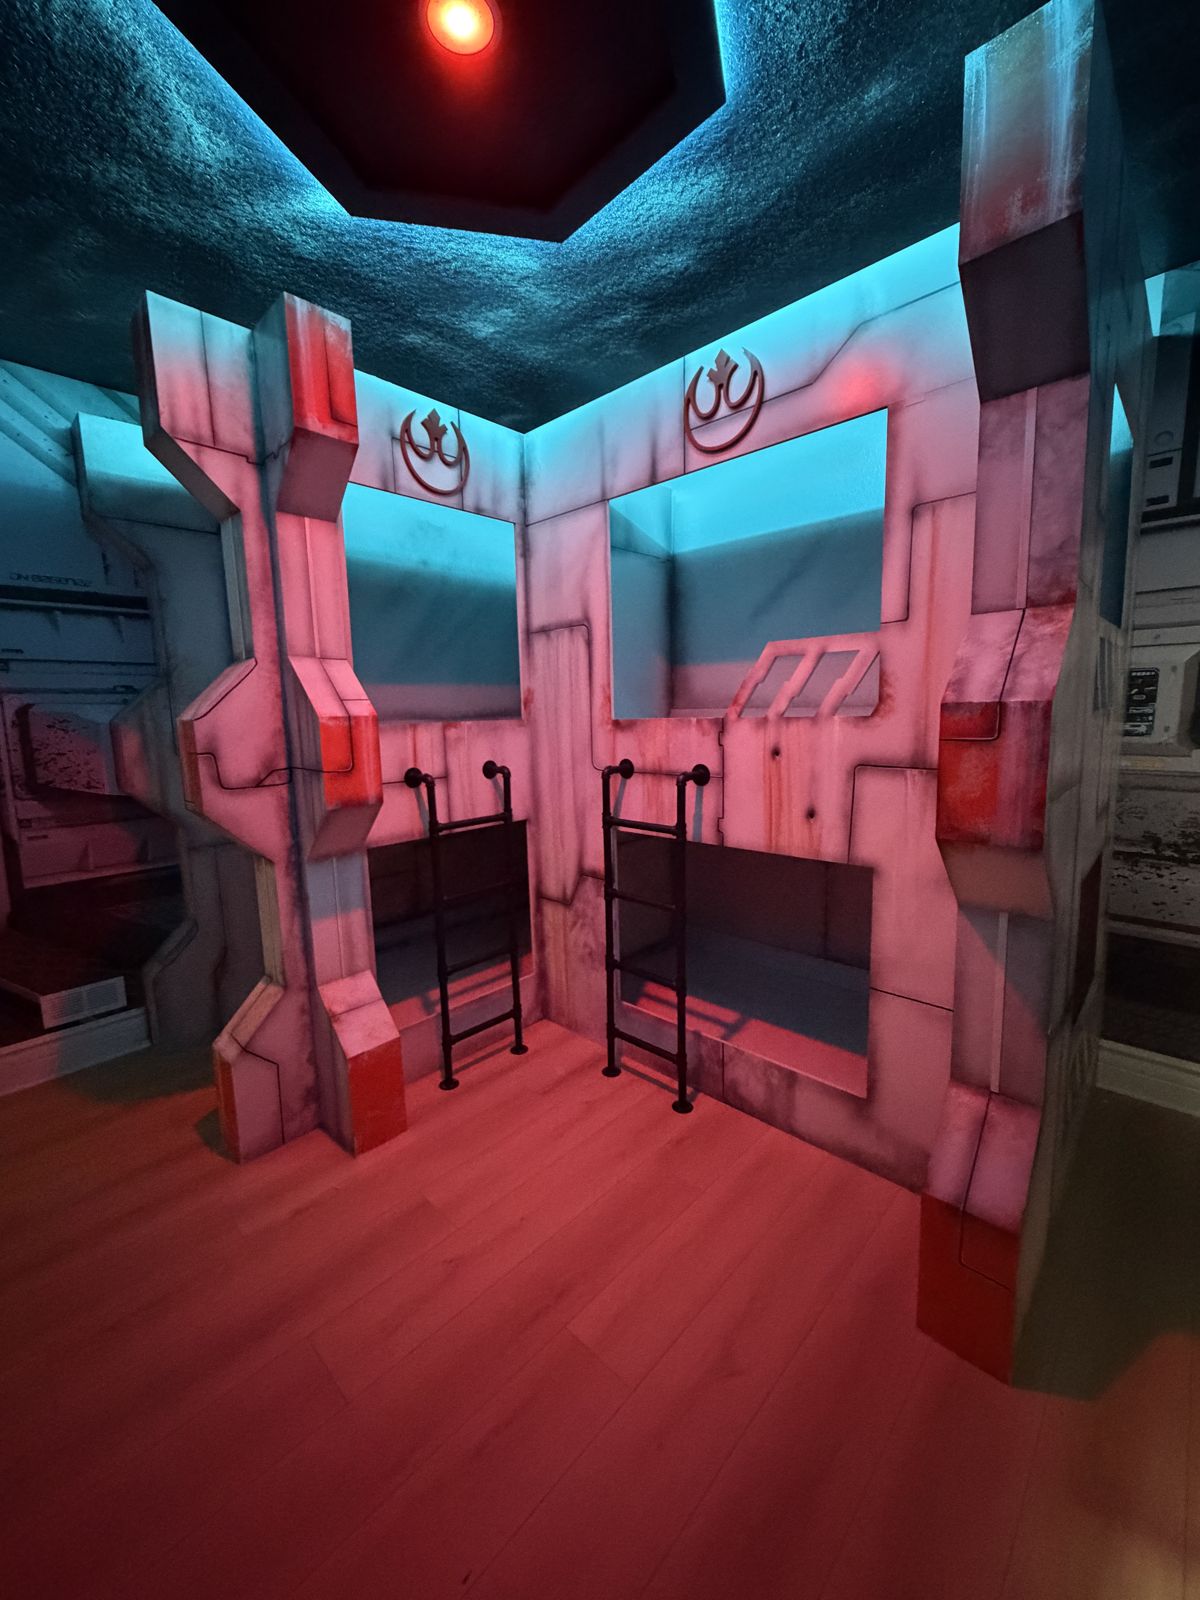
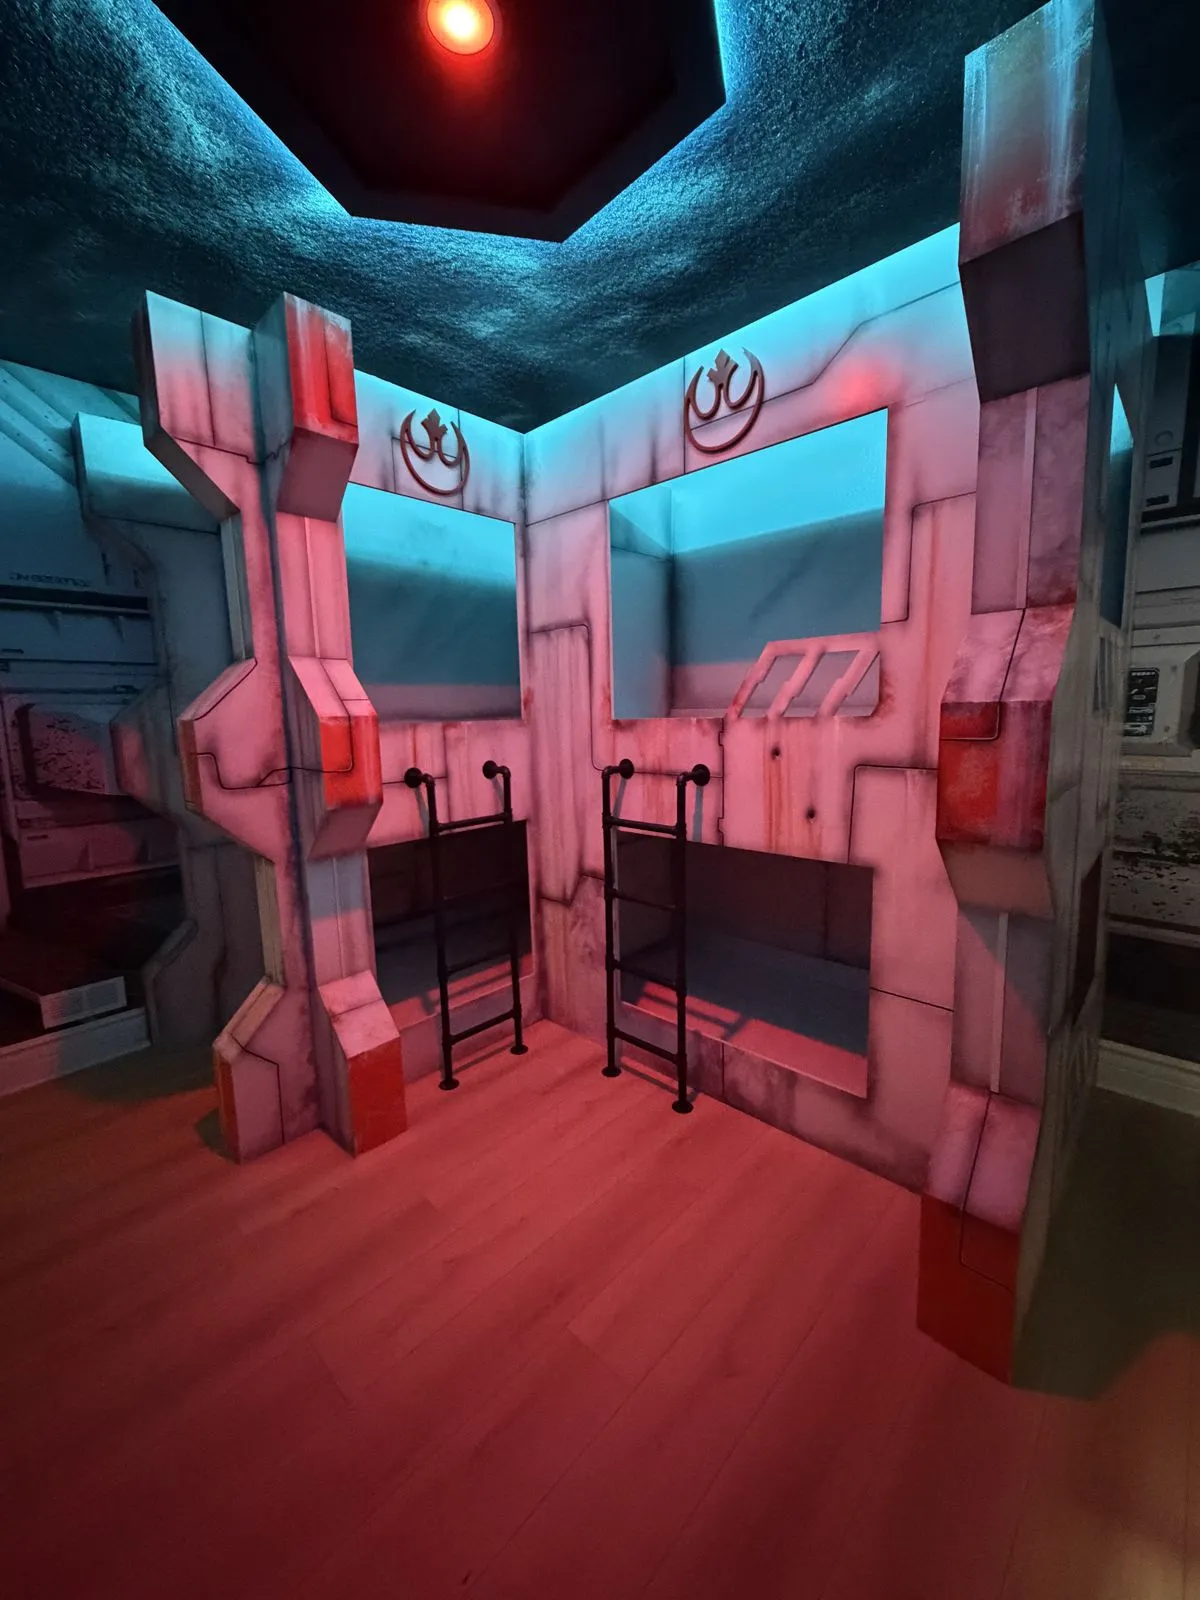
A lit bunk room photographed straight on, with the lighting visible and the beds clearly shown.
The shots every themed room needs
The hero shot. One image from the corner that shows the whole room and the main feature.
The beds. Guests want to see where they'll sleep, how many beds there are and how to get in.
The feature wall or built piece. A straight-on shot of the main mural, bunk or castle tower.
Details. Two or three close-ups of the finishes, lighting and small touches.
The room at night. One shot with the lighting on, so guests see the effect.
Lead the listing with the hero shot. For a family listing, a themed room is often the photo that makes a guest stop scrolling.
Building a bunk? See our princess castle and space-station guides, which cover rooms made to be photographed.
Angles that work in a small room
Shoot from a corner and hold the camera at about chest height.
Keep the vertical lines straight, so walls don't lean.
Don't use an extreme wide lens that bends the room.
Leave out any clutter on the floor.
Photographing bunks and built pieces
Bunks need a clear shot that shows how guests get in and where they sleep. Photograph each bunk from a few steps back, so the ladder and the bed are both visible. Keep the shot honest. A guest who arrives and finds a smaller bunk than the picture suggested will say so in a review. Our bunk room safety guide lists what we plan so the room is safe to sleep in as well as good to look at.
Keep the photos accurate
Editing is fine. Brightening, straightening lines and correcting color are normal. Changing what the room is, such as adding things that aren't there or hiding damage, isn't. A listing that matches the room builds trust and avoids complaints.
Add a short video
A short, silent clip can show what a still can't, such as the glow of the lights or the way a bunk is built. Keep it smooth and under control, and don't narrate. Video should support the listing photos, not replace them.
Write captions that explain the room
A caption does a lot of work. Say what the room is, how many it sleeps and the best feature. Keep it simple and accurate. If you use a character name, check the platform's rules, and remember our rooms are inspired by a style or story and aren't licensed. Character names are trademarks of their respective owners; Supreme is not affiliated with or endorsed by them.
A simple shot list for the day
Start with daylight shots of the whole room.
Photograph each bed on its own.
Shoot the feature wall straight on.
Take close-ups of the details.
Finish with the evening shots, with the lights on.
Plan to take more photos than you need. It's easy to pick the best ones later, and hard to go back and reshoot.
Edit the room before you shoot it
Walk through the room as a guest would and look at it with a critical eye. Is anything leaning, stained or out of place? Is a cord showing? Is a pillow crooked? Themed rooms have more surfaces and more small details than a plain bedroom, so a few minutes of checking before the camera comes out makes a big difference in the final photos.
Think about the guest who will see it
The family looking at your listing is trying to picture a child in the room. Photos with a clear bed, a bright feature and a calm, clean look do that best. A busy photo with a lot of props makes the room look smaller and harder to read.
Mistakes to avoid
Shooting only a wide shot from the doorway.
Shooting with colored light only.
Leaving the room messy or cluttered.
Using photos that don't match the actual room.
Hiding the beds or the way in.
For how we build rooms that photograph well, see our theme room portfolio and bunk rooms. If you're still choosing what to build, read our guide on themed rooms versus standard bedrooms.
Before the camera comes out, avoid the build mistakes in themed room mistakes.
Frequently asked questions
Should I hire a photographer for a themed room?
It's worth it for a room that's central to your listing. A photographer can handle mixed light and awkward angles. If you shoot it yourself, use the tips above.
Should I photograph with the lights on or off?
Both. Take some photos with the lighting set the way guests will see it and some with neutral light so colors look true.
How many photos of a themed room should I post?
Enough to show the whole room, the beds, the main feature and a few details. Don't repeat the same view.
Can I use the room in video?
Yes. A short, silent clip of the room can help. Keep it smooth and use it alongside the photos.
Do you help with listing photos?
We style the finished house so it's ready for photos. See our staging guide and our turnkey page.
How do I start a themed room?
Send us your floor plan, the room you have in mind and your listing link. We'll tell you what we'd build and show you a plan first.
Get a quote for your home
Tell us about your home, the resort it's in and the rooms you have in mind, and we'll put together a plan and a quote. Get my quote or call us at 689-777-9954.
Supreme Interior Design, 3401 Commerce Blvd Suite I, Kissimmee, FL 34741.
